The Add Email Window
 When you click the Add Email button you'll be presented with the Add Email window.
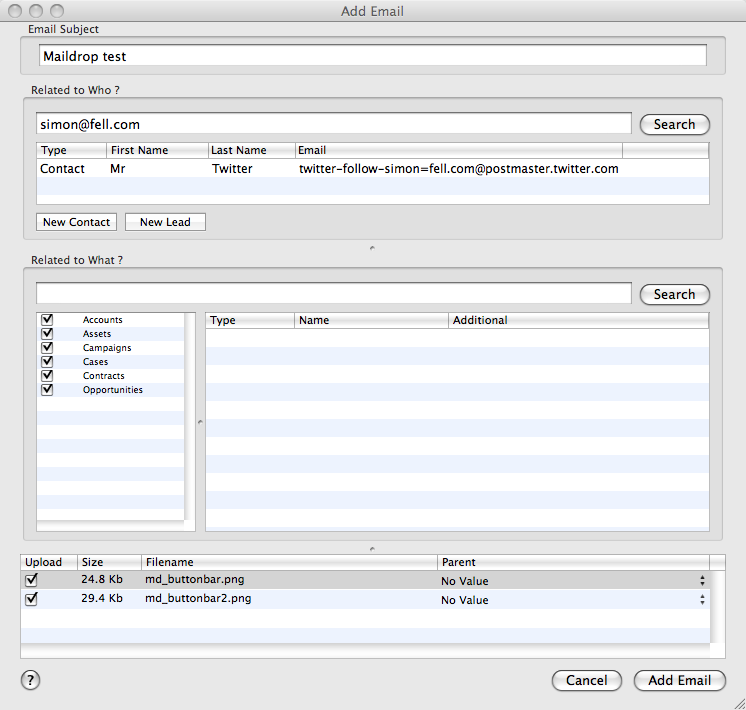
This window consists of 3 sections, the top one allows you to select Who the Email is related to, by default the search box will be populated with the email address of the sender, and the search results populated. (This list can contain Contacts and/or Leads). Simply select the relevant record, or enter a different search term into the text box and click search.
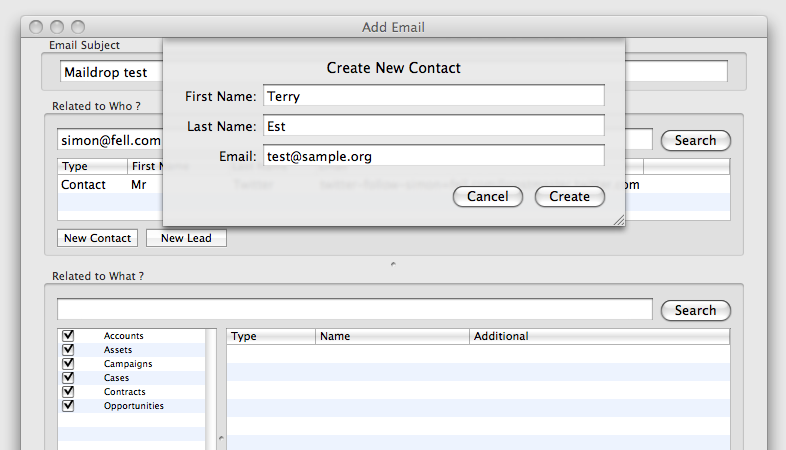
If you need to create a new contact or lead record for this email, click the new contact or new lead button below the search results to open the create contact panel, to quickly create a new contact.
On the middle section, you can pick What the email is related to, this includes standard objects such as accounts, opportunities and cases as well as any custom objects that you have that have activities enabled on them. Click the check-mark next to each object that you'd like to search against, enter a search term into the check box and hit search. Select the item from the results list box.
Finally, the lower section shows the attachments (if any) that are attached to the email, you can choose which one's you want to upload to Salesforce.com. The final column allows you to select where to store the attachment, you can select from the WHo/What records or "This Activity" which will store the attachment directly on the created activity.
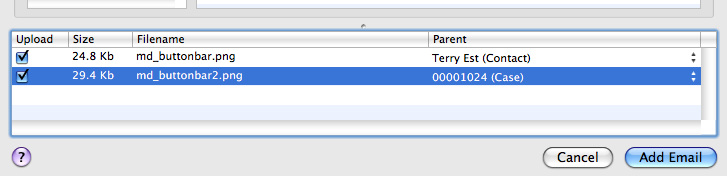
Once you've selected the Who and What's (if you want to, its not required), go ahead and click "Add Email" in the bottom right hand corner and Maildrop will go ahead and create the activity, then open it in the browser for you.